What is a deployment slot
A deployment slot is effectively another Azure function that is linked to your production instance. A deployment slot allows you to deploy your function to the slot and be able to test it separately to the production instance. It will have its own url and access key. When you are happy with the function you can then make it live by swapping the production and staging slots. The deployment in production becomes staging and the deployment in staging becomes production. This means that if there are issues with the new deployment you can easily revert back by performing another swap. There is minimal downtime during the swap and is quicker than a direct deploy to production. You can use Azure DevOps to deploy your new changes to the staging slot instead of production and then perform either a manual or automatic swap to production.
Creating a deployment slot
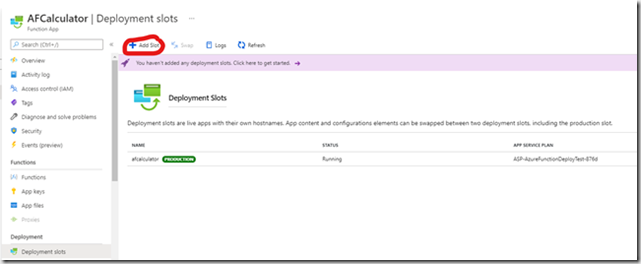
In Azure portal. Navigate to your Azure function and click on “Deployment slots” then “Add slot”
Enter the name of your new slot. Note : You can have more than one slot if you wish and each one can be deployed to separately.
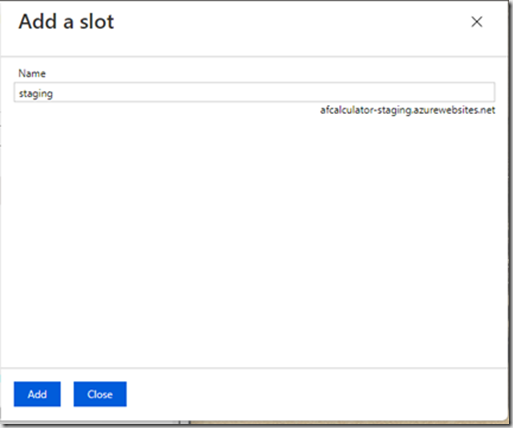
You now have a new slot and you can manually deploy to the slot from Visual studio as you have been doing with your current production slot.
Creating a Release Pipeline to deploy to the slot
In Azure DevOps click on “Pipelines” then “Releases”
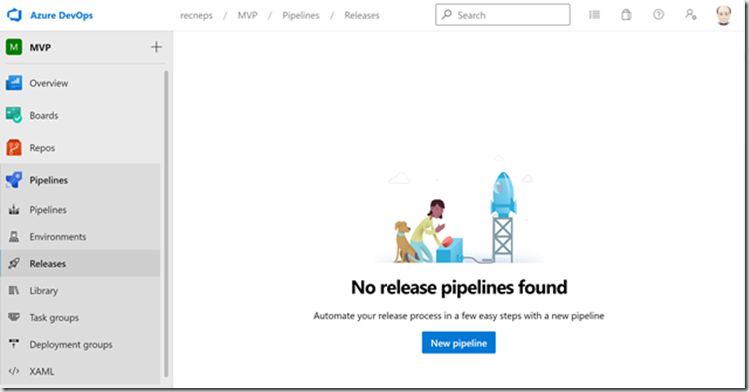
Click “New pipeline” and search for “function”
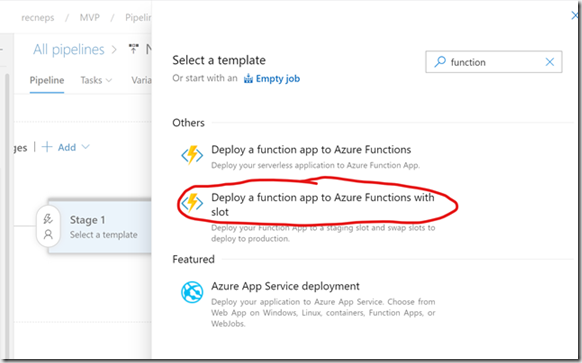
Select “Deploy a function app to Azure Functions with slot”. A new pipeline will be created
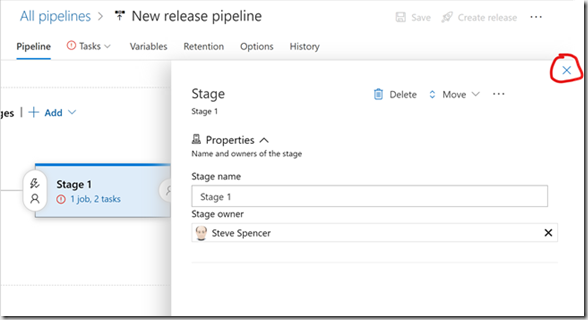
Close the dialog that appears and click on the Stage 1 link
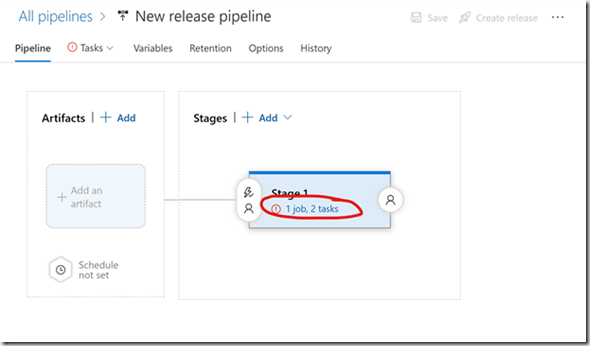
I generally do not want to automatically swap to production immediately so you can delete the second task by right clicking on the “Function App – Slot Swap” and selecting “Remove selected task(s)”
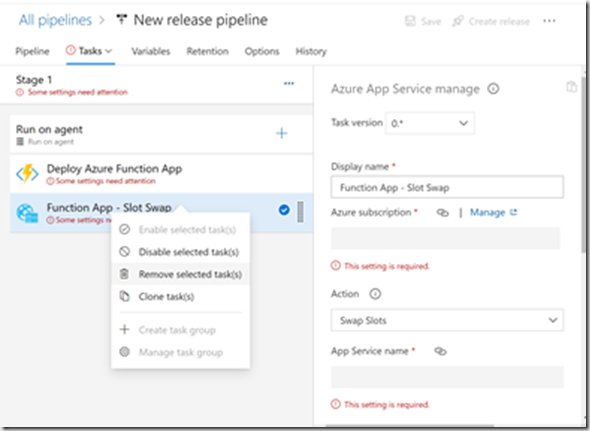
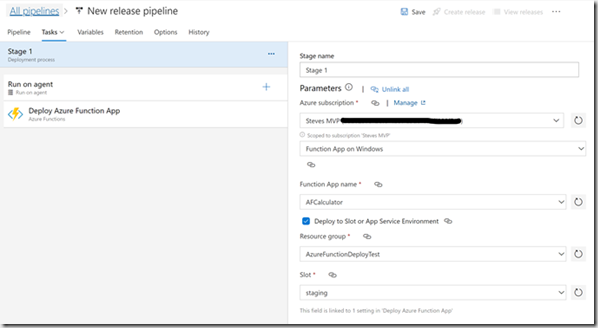
Now you should be left with just the deployment task. Select the Azure subscription where your current function app is deployed and select all the other properties relating to the function app and staging slot
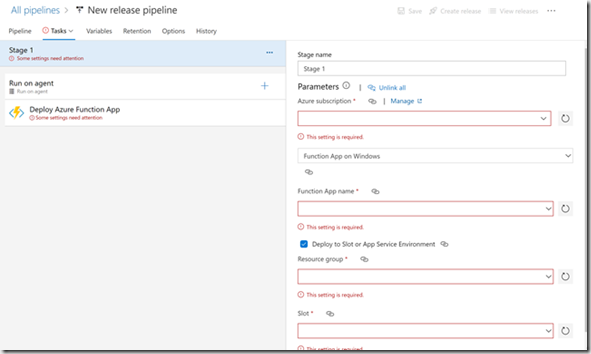
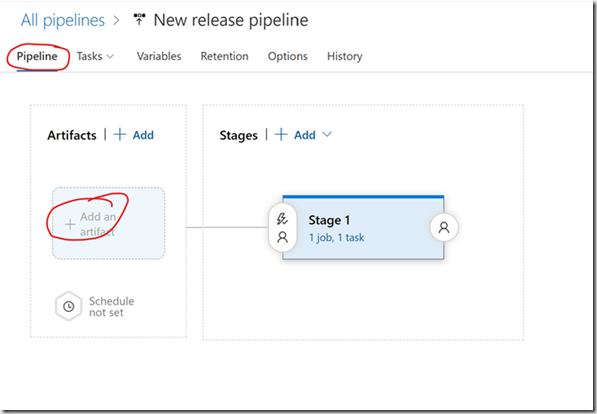
Now we need to tell the release what build we want it to use to deploy. Click on “Pipeline” then click “Add an artifact”
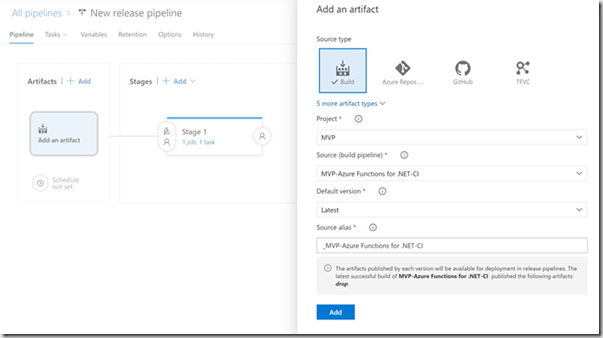
Pick the correct build from the drop down
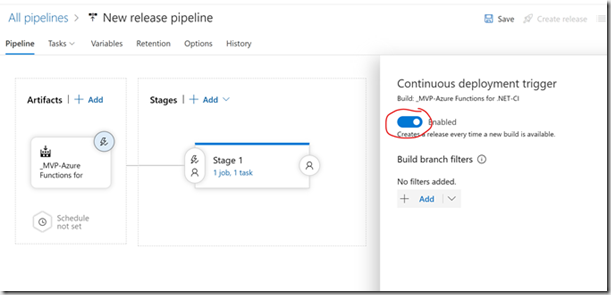
If you want to make this deploy automatically after each build is completed click the little lightening icon on the artifact
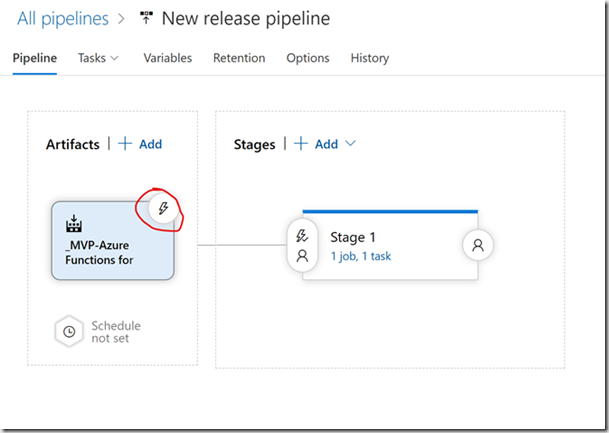
Click to enable the continuous deployment trigger.
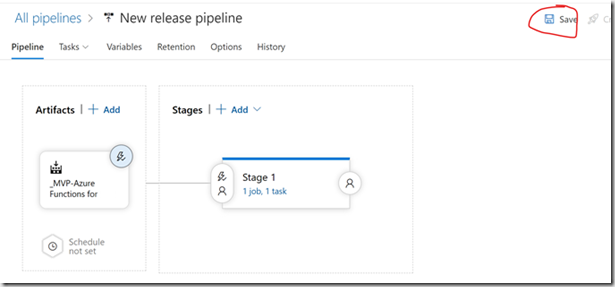
Then click “Save”
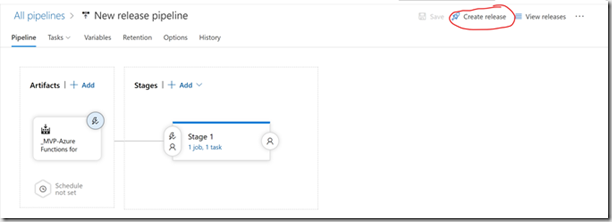
To test this out, click “Create release”
Then “Create”
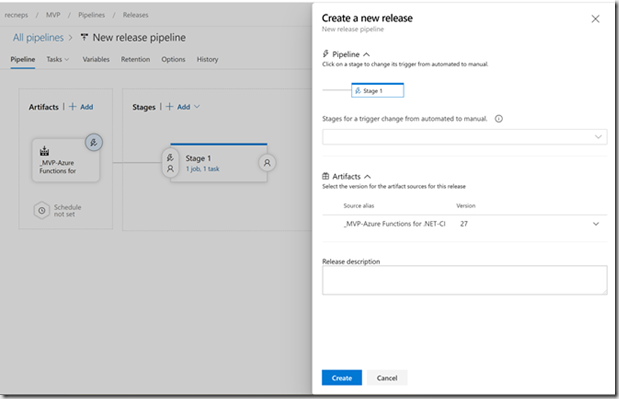
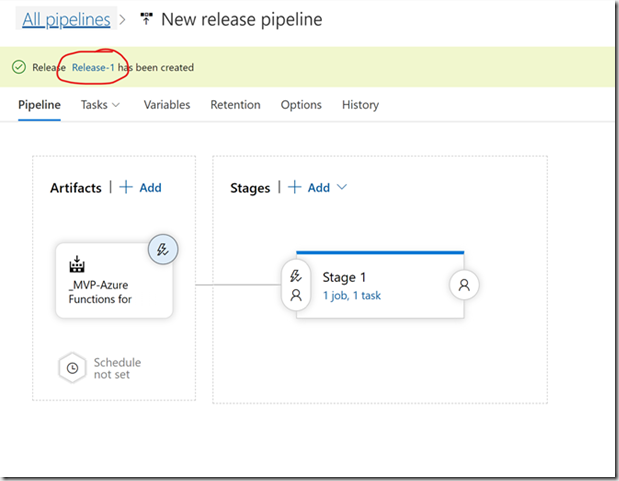
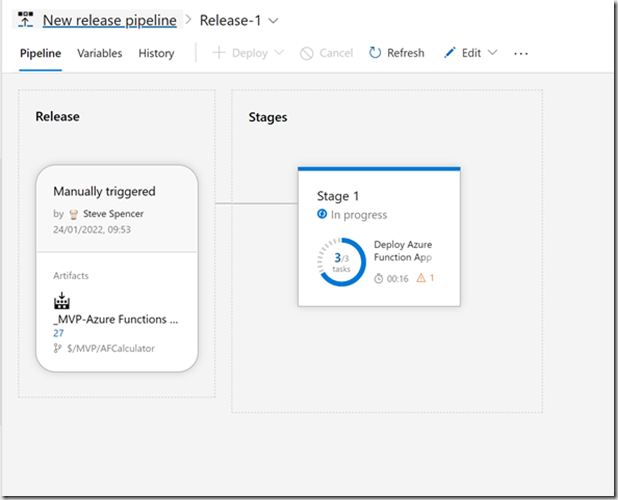
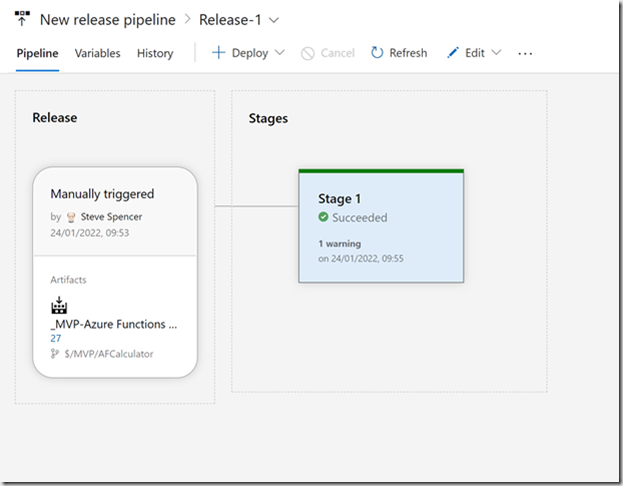
You should see a notification saying the release has been created. Clicking the link will take you to the release where you can see the status of the release deployment.
You may wish to rename your pipeline. Click “Edit”

Then click the pencil to edit
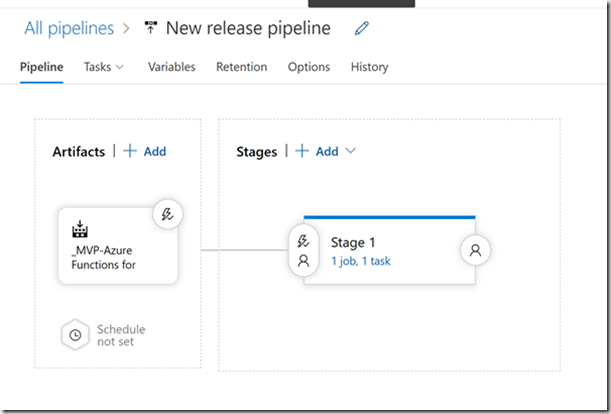
Enter the new name then click “Save”
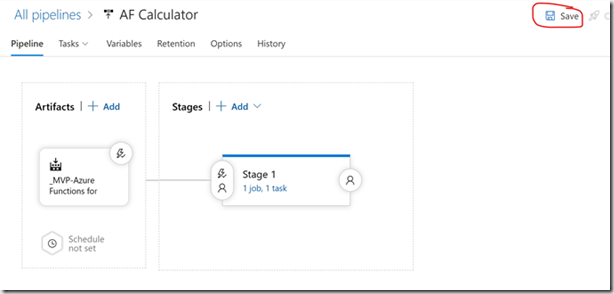
Your release is now complete and should run each time a build is completed, deploying the latest artifacts from the build into the staging slot. Which is now ready for testing.
Testing a Deployment Slot
Back in the Azure portal, click “Deployment slots” on your Azure function.
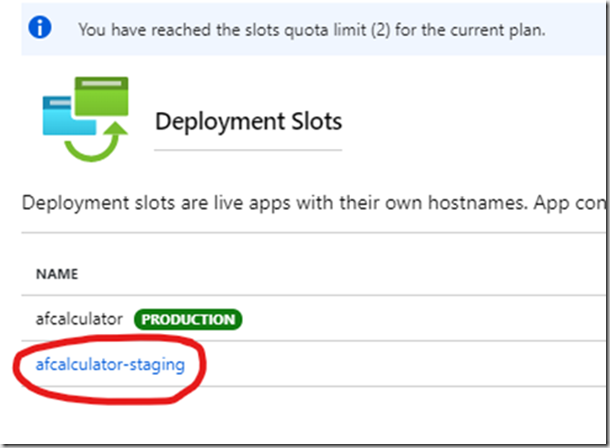
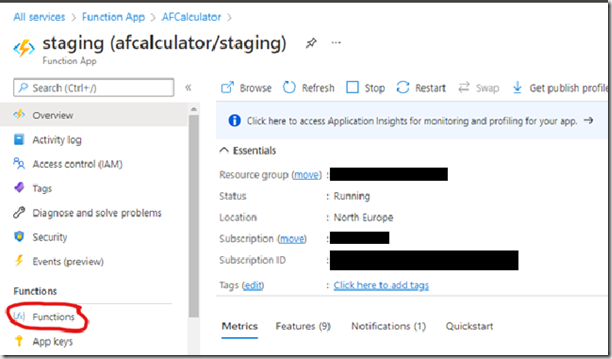
Click on the “Staging” slot the click “Functions”
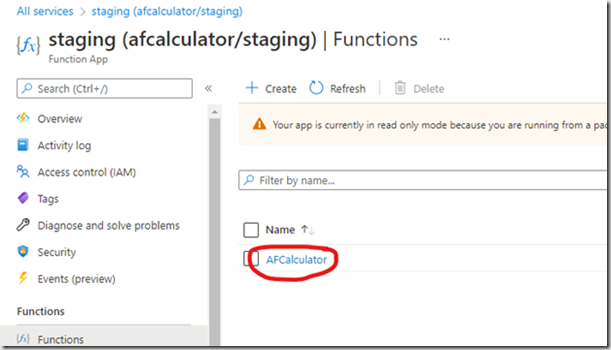
Click on the function you want to test
Then click “Get function url”
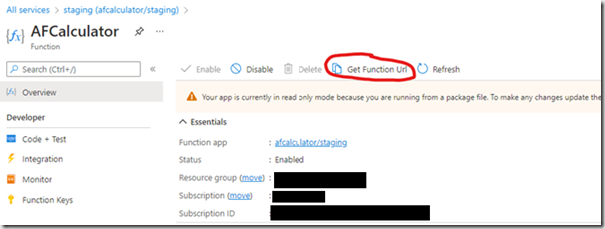
This will give you a url and key that will allow you to test and it is not linked to your production slot, although if your configuration is pointing to the same database as production it will connect through to that.
Swapping slots
Once you are happy with the deployment, you can manually swap the staging slot into production. Go back to the deployment slots blade in the Azure portal and click “Swap”
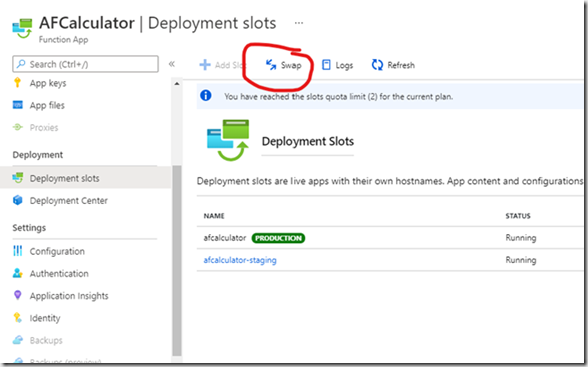
Select the slots you want to swap (assuming there are more that 2)
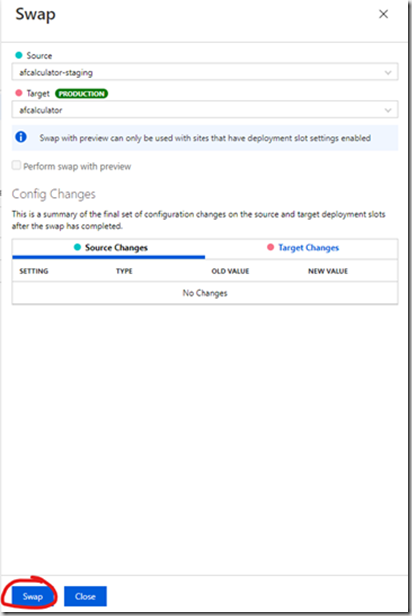
Click “Swap”.
Your two deployments will swap and the staging will now be live. If there are issues with staging and you need to revert, just click “Swap” again. Be aware that if you have a new build/release happening then the new release will overwrite the staging slot and therefore lose the old production deployment. It is possible to chain deployments so that the build triggers a deployment to the test environment and only triggers a release to production if the release have been manually triggered. It is also possible to have an approval step so that a production staging deploy can only happen once someone has approved it. Both these options will stop the old production instance being overwritten until you are ready for it.