Azure Administrative Units allows an administrator in Azure to separate out the management of specific users and groups and delegate management to a specific set of users. This may be to allow for access to specific applications or to isolate the management of a specific set of users due legal restrictions based upon their location, nationality or the data they are accessing, for example. Azure Administrative units require and Azure AD Premium P2 license for each user you wish to delegate as an Administrator.
In order to separate out the users you must create an administrative unit, assign the users and groups you wish to managed to the unit and then assign users to be the admins.
In the Azure portal, navigate to the Azure Active Directory blade and click on “Administrative units”
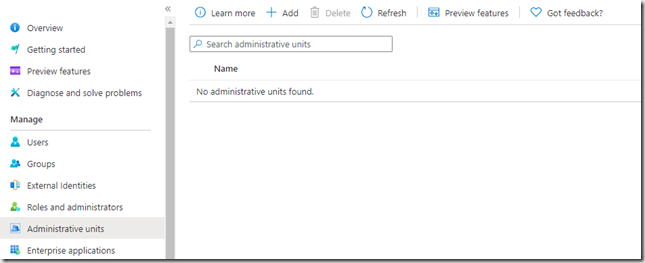
To Create an Administrative unit click “Add”
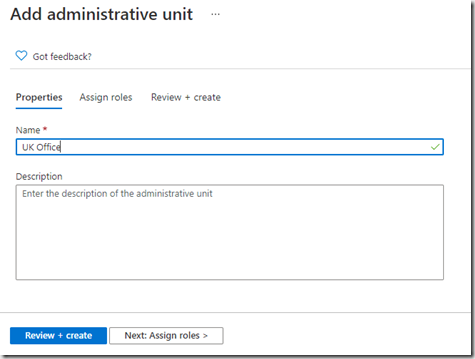
Enter a name and description the press “Review + create”
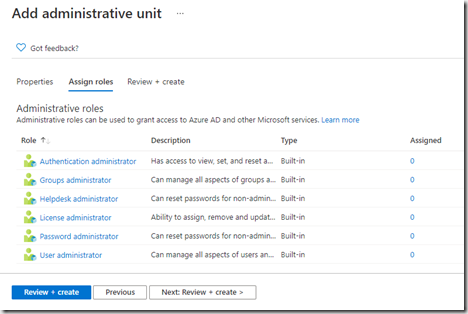
You can assign the users you want to delegate the administration of the Administrative unit on this page, click “Review + create” as we will be assigning the admins later.
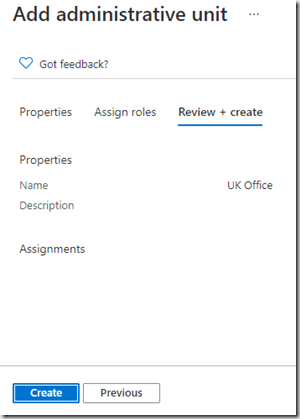
Now click “Create” & the Admin unit should now be created.
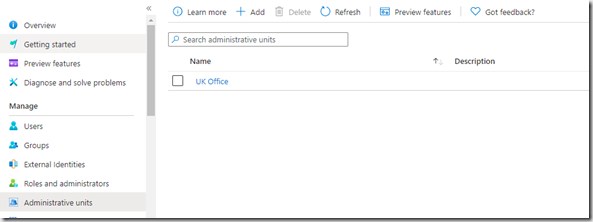
We now need to decide what and who we want to manage within this unit. Firstly we’ll add some groups. Click on the Admin unit then Click Groups

Click Add and select the groups you want to put in this Admin unit.
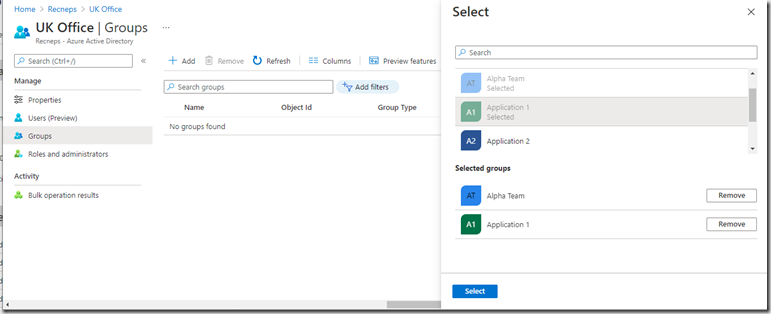
Then click “Select”

Now you can add your users, click “Users” & “Add member”
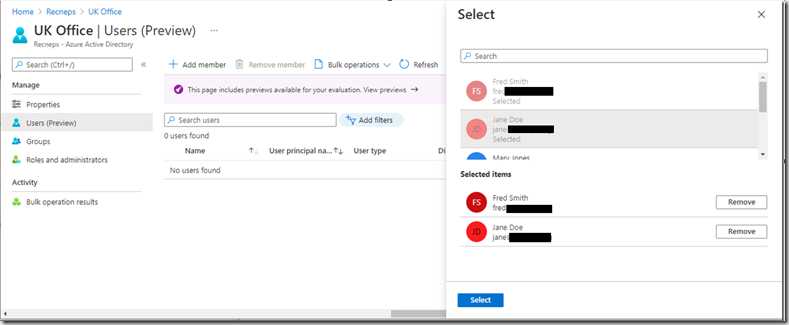
Select the users you wish to add to the Admin unit and click “Select”.

Now we have our Admin unit set up with two groups and two users. We now need to assign an administrator for this unit. Click “Roles and administrators”

This displays the different roles that can be used to manage the Admin unit. This allows you to have multiple administrators of the unit with different permissions. We’ll just create a single Administrator who is allow to manage the users into the groups we have assigned. Click “Group administrator”

Click description if you are unsure what the role does. You will get a description plus a list of the finer grained permissions included in the role. Click “Add assignments” and pick the user you wish to assign to this role, then click “Add”.
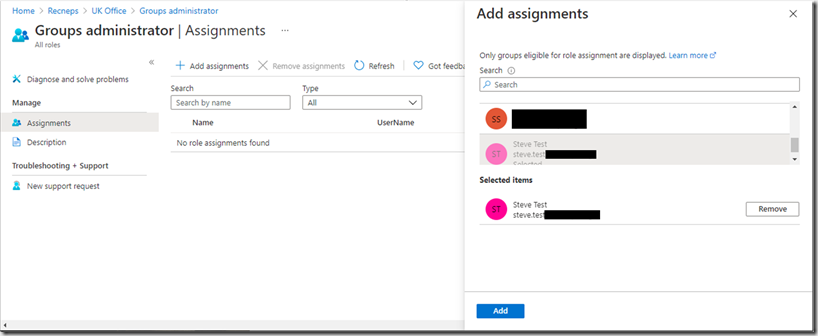
You can repeat this for the other roles if you wish. Your admin unit is now setup.
Now login with the administrator of the admin group who you added previously. This user will need to have already been assigned the Azure AD Premium P2 license and the user should be able to assign Fred and Jane to the groups Application 1 and Alpha Team.
In Azure AD, click Users, then click Fred.
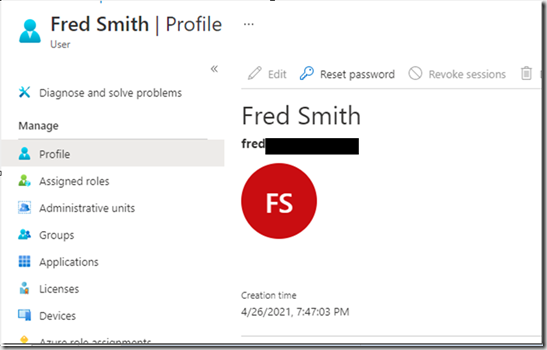
Now click “Groups”, then “Add memberships”
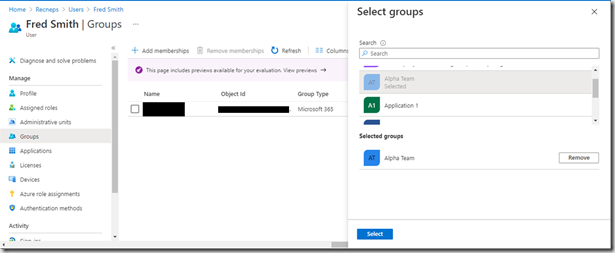
and select “Alpha Team” and click “Select”.
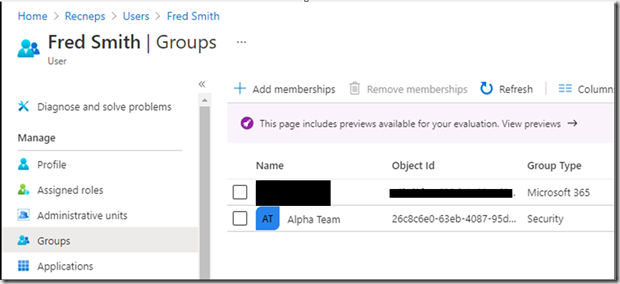
Alpha Team should now be assigned to Fred.
Click “Add memberships” again, but this time select the “Beta Team” group and click “Select”

You will see a notification saying that you do not have the correct privileges to manage that group. Similarly if you try to add any user other than Jane or Fred to any of the groups you will get the same error.
So,by using Azure AD Administrative units I’ve shown how you can delegate the management of certain groups and users to specific individuals. Administrative groups will allow you to organise the management of your Active Directory and delegate management, helping you to reduce the risk by providing the user management with a lower level of privilege than just by giving all your users administrators the global Group Administrator role. This will allow you to partition off sensitive groups and applications and restrict the users who are able to manage those, whilst extending the administration to a wider set of users.